As we begin to venture outdoors and bask in the gorgeous summer sunshine, taking a dip in that cool blue water is looking mighty enticing. But with natural hair…The once-joyous act of jumping into a pool with childlike enthusiasm, or diving into the ocean like a mermaid can come with a moment of hesitation, when we think of what to do with our hair. As black women, swimming has always been a bit of a struggle as we work out if taking that refreshing dip will be worth it when it comes to our tresses.
If you’ve been thinking twice about plunging in head-first, here’s the good news: No longer do you have to be the one sitting on the edge of the pool just dipping your feet in and threatening to splash anyone who gets your hair wet, while watching everyone else cooling off with careless abandon.
Listen up to these tips that will bring the joy of swimming back into your life… Even with natural hair. Knowing how to do it right will take your hair concerns out of the equation so you can be a bathing beauty, soaking up the pleasures of pool season all summer long!
Testing The Waters

Now, before we dive into the pre- and post-swim treatments for natural hair, it’s important to understand exactly what is happening to your curls when we’re immersed underwater.
When it comes to swimming, you’ll be exposing your hair to a couple of different elements that you’ll need to keep in mind.
In the pool, we’re talking chlorine. This chemical strips your hair of its natural oils and minerals that allow it to thrive. If a day at the pool has ever left you struggling with crunchy, brittle curls, chlorine is the main culprit. And if you plan on taking daily dips in the pool this summer to swim laps or cool off, it’s especially important to give your naturally delicate and dry curls a bit of extra TLC, so you can fend off the effects of chlorinated water on your hair that will lead to brittleness, damage and breakage.
When you’re at the beach, you don’t have the chlorine to worry about, but instead it’s the high content of salt in the ocean water that can damage your natural hair if you’re not careful. Salt can be notoriously dehydrating to your hair and if not properly remedied, can leave your hair looking dry and dull.
To immerse your natural hair in the ocean or pool with confidence, the main thing you need to do is ensure you’re diving in with beautifully hydrated and moisturized hair to begin with. So when you’re ready to jump in head-first to the next alluring big blue calling your name, grab your towel and follow these tips for the best pool season hair ever...
Get Ready to Dive In

Step 1: Wet Your Hair
While this may sound a little crazy, stay with us for a moment. If you wet your hair with fresh, clean water before hopping in the pool or the ocean, your strands will already be completely saturated and won’t be able to soak up any more liquid… And that means chlorine and sea salt!
If your hair is physically unable to absorb anything else as it’s already fully soaked, you’ve got yourself a built-in shield of armor and the drying chemicals and salt won’t stand a chance at taking hold.
Step 2: Layer On Some Oil
Creating hydration through a layering process gives your hair the best defense. Once your hair is wet, apply a light coating of oil, which will strengthen the hair shaft and provide a physical layer between the chlorine or salt and your curls.
We love mixing a dab of coconut oil with a pea-sized amount of our Banana Bella Bliss Body Oil, and letting the fragrance transport us to the tropics- even if we’re just dipping into our pool at home instead of on a secluded exotic island!
Step 3: Finish Up the Layering with a Conditioning Mask
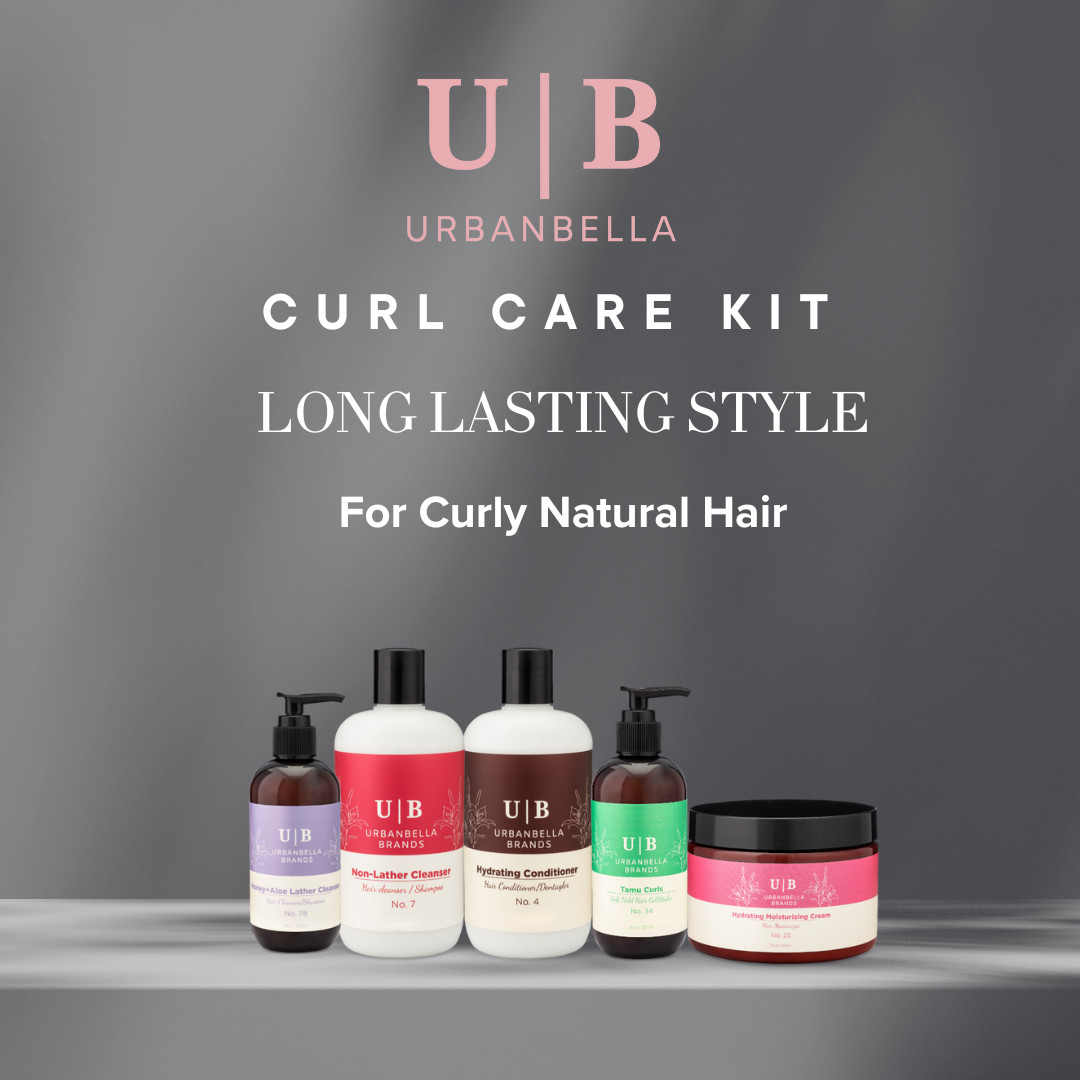
To achieve really hydrated hair that will withstand a long pool session, slather on a luscious hydrating conditioning mask. Coating your curls with a final step of conditioner creates an additional physical layer and helps seal the hair cuticle, which is like firmly closing the door on the chlorine and salt trying to get into your hair fiber. We love gliding our Urbanbella No.4 Hydrating Conditioner through our strands before pulling them back, to prevent tangles while underwater.
Step 4: "EXPERT LEVEL"... Swimming Cap!
If your poolside company permits, go ahead and pop on a swimming cap. Of course, sometimes you’re dressed to impress and looking glamorous poolside is on the menu along with that Pina Colada. However, if you’re amongst friends and family who won’t bat an eye at you covering up your gorgeous curls while you take the plunge, then take your hair preservation to Level Expert with this final flair.
Now, before you tell us how your big curly fro could never fit, hear us out! You should only attempt a swim cap after you’ve done the three layer hydration method in the steps beforehand. Although your hair is covered, swim caps aren’t always air tight, so you still want to make sure your hair is prepped in case some water sneaks inside. With this hydration method, your hair will be significantly easier to manage at this point because it’ll be slick and wet. Tucking your natural curls into a swim cap provides the very best defense and minimizes the most potential damage that chlorine and salt water will have on your hair.
The Fluffy Towel-Down

Step 1: Rinse Without Delay!
Immediately rinse your hair with clean, fresh water without delay as soon as you step out off the beach or out of the pool. The sooner you remove the drying elements in the chlorine and sea salt from your hair, the less time they’ll have in contact with your strands to wreak havoc on your moisture. If you can manage it, shampoo your hair immediately, but if you forgot to pack a mini bottle of shampoo in your beach bag, at the very least give your hair a quick rinse in the showers with your toes in the sand.
Once you can give your hair a wash, use a clarifying shampoo such as our Honey & Aloe Lather Shampoo. If you’re a daily swimmer, limit your deep-cleaning shampoo sessions to twice a week and instead use a gentle cleanser after every swim to nurture your hair’s moisture balance, like our No. 7 Non-Lather Cleanser. Always follow up with a hydrating conditioner after washing, we love the Urbanbella No.4 Hydrating Conditioner to replenish lost moisture.
Step 2: Go Easy on the Styling
When it comes to styling your natural hair after swimming, less is more. Your hair has been exposed to some elements that put it under stress, so give it a bit of a break from the additional stress of heat styling. Air drying is the best option, so try letting your Wash ‘N’ Go dry naturally. Urbanbella’s range of premium products have been carefully formulated to allow air drying while still getting your hair looking amazing. Try our Condition and Repair Kit that contains precisely what your post-swimming hair needs to bounce back to its best self.
Step 3: Get a Protein Boost
Protein treatments are a great preventative method to help strengthen your hair post-swim, and also get it ready for an action-packed pool season ahead. This summer is going to be a hot one, so make sure your curls are ready for all the fun you can throw at it by having them strong and healthy in preparation. Adding a protein treatment to your hair care routine such as the Urbanbella No. 14 Organic Coconut Cream Repair Mask once or twice a month will nourish your hair with its potent combination of hydrating coconut oil and honey extract, while the protein protects and repairs damage.
----------

See you in the lagoon, on the beach, and at the pool, naturalistas! We’ll be rocking our best curls yet this summer with these natural hair tried-and-true swimming techniques. And "just dipping our toes in" will be a distant memory of summers past…
xx Keneesha


C. Yvonne Moore
June 01, 2020
Extremely helpful curl insight. Thank you for directing the way my curls should flow!